Hardware
- Power-cycle/reboot docking station
- Remote Learning in Upgraded Classrooms
- Hard reset on laptop.
- Logging into NTCC issued laptop.
Power-cycle/reboot docking station
When you plug your laptop into a docking station the mouse, keyboard, or monitors may not work. The most common cause of this issue is the docking station may have gotten hung up. While the docking station cannot be used without a computer, it has a small processor in it that handles the ability for you to use it.
Checking the monitors.
- Check that the power button on the monitor is lit up.
- If yes, then check the cables are inserted securely into back of the monitor and docking station.
- If no, check to see if the power cable is plugged in at both the outlet/power strip and the back of the monitor.
- Go to Resetting the docking station if none of these worked.
Checking mouse and keyboard cables.
- Check that the USB cables on the mouse and keyboard are securely inserted into the dock or monitor.
- You can unplug the cable and see if it works in another USB port as well.
- Go to Resetting the docking station if this did not work.
Resetting the docking station
A majority of the time you can reset your docking station and it will fix the issue. If this does not work, go to the next solution.
- Locate the power cable for the docking station. This will usually be the furthest cord from the power button. The connector is round.
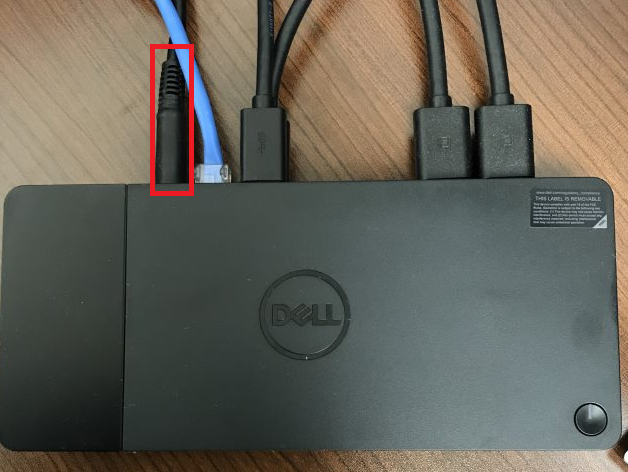
- Unplug the power cord and press the power button down for 15 seconds. Unplugging the power cable from the power strip will NOT fix the issue. It MUST be unplugged at the docking station.

- Plug the power cord back into the docking station. Test mouse/keyboard/monitor for proper function.

No option is working.
If nothing is working, then device may be malfunctioning. Describe what you have tried in your IT helpdesk ticket and we will see if replacement is needed.
Remote Learning in Upgraded Classrooms
Capabilities
The upgraded classrooms include several technologies to improve the remote/synchronous learning experience and the experience for presenting to local audiences.
Previously, the webcam and microphone was all that was available for videoconferencing. This limited the instructor to staying directly in front of the laptop to be seen and heard. Now, the instructor can roam around the front of the classroom and been seen and heard.
Additionally, playing media in the classroom is now enhanced through speakers installed in the ceiling of the classroom. The speakers also perform a "voice lift" function that allows students in the back of the room to hear the instructor better. The audio from media being played and the instructor is also transmitted to student-accessible receivers for those who need hearing accommodations.
Do not move or rotate the podium! There is delicate cabling running to the podium that will be damaged if the podium is moved at all.
- New, larger smartboard (86") with multiple displays in select wider classrooms
- Touchpad for control
- Ceiling-mounted camera
- Ceiling-mounted microphone
- Overhead speakers
- Hearing-assistive technology
Touchpad Controls
The touchpad located on the wall behind the podium is the core of the system. All functions are controlled from the touchpad.

Do not turn Video Mute to red. If you do, when you connect with your laptop, only your laptop will show and no display on the Smartboard will be seen. If you need to not show your laptop just turn Display to off.
Input Options
There are now 2 options for connecting a laptop to the system: USB-C and HDMI
- USB-C should be used by all NTCC laptops. This connects the video, sound, internet, smartboard touch, camera, and microphone to the laptop.
Pay particular attention to the message in the center of the touchpad regarding speaker and microphone selections. Choosing the incorrect speaker output will result in the volume control on the touchpad not having an effect on the volume and playing sound at maximum volume. This can damage the equipment and hearing of occupants of the room, as well as disturb nearby classrooms.
- HDMI should be used by any non-NTCC laptops. This connection only connects video and sound to the attached computer. Internet, smartboard touch, camera, and microphone are not available through this output. The computer should connect to the NTCC Guest wireless network for internet access.
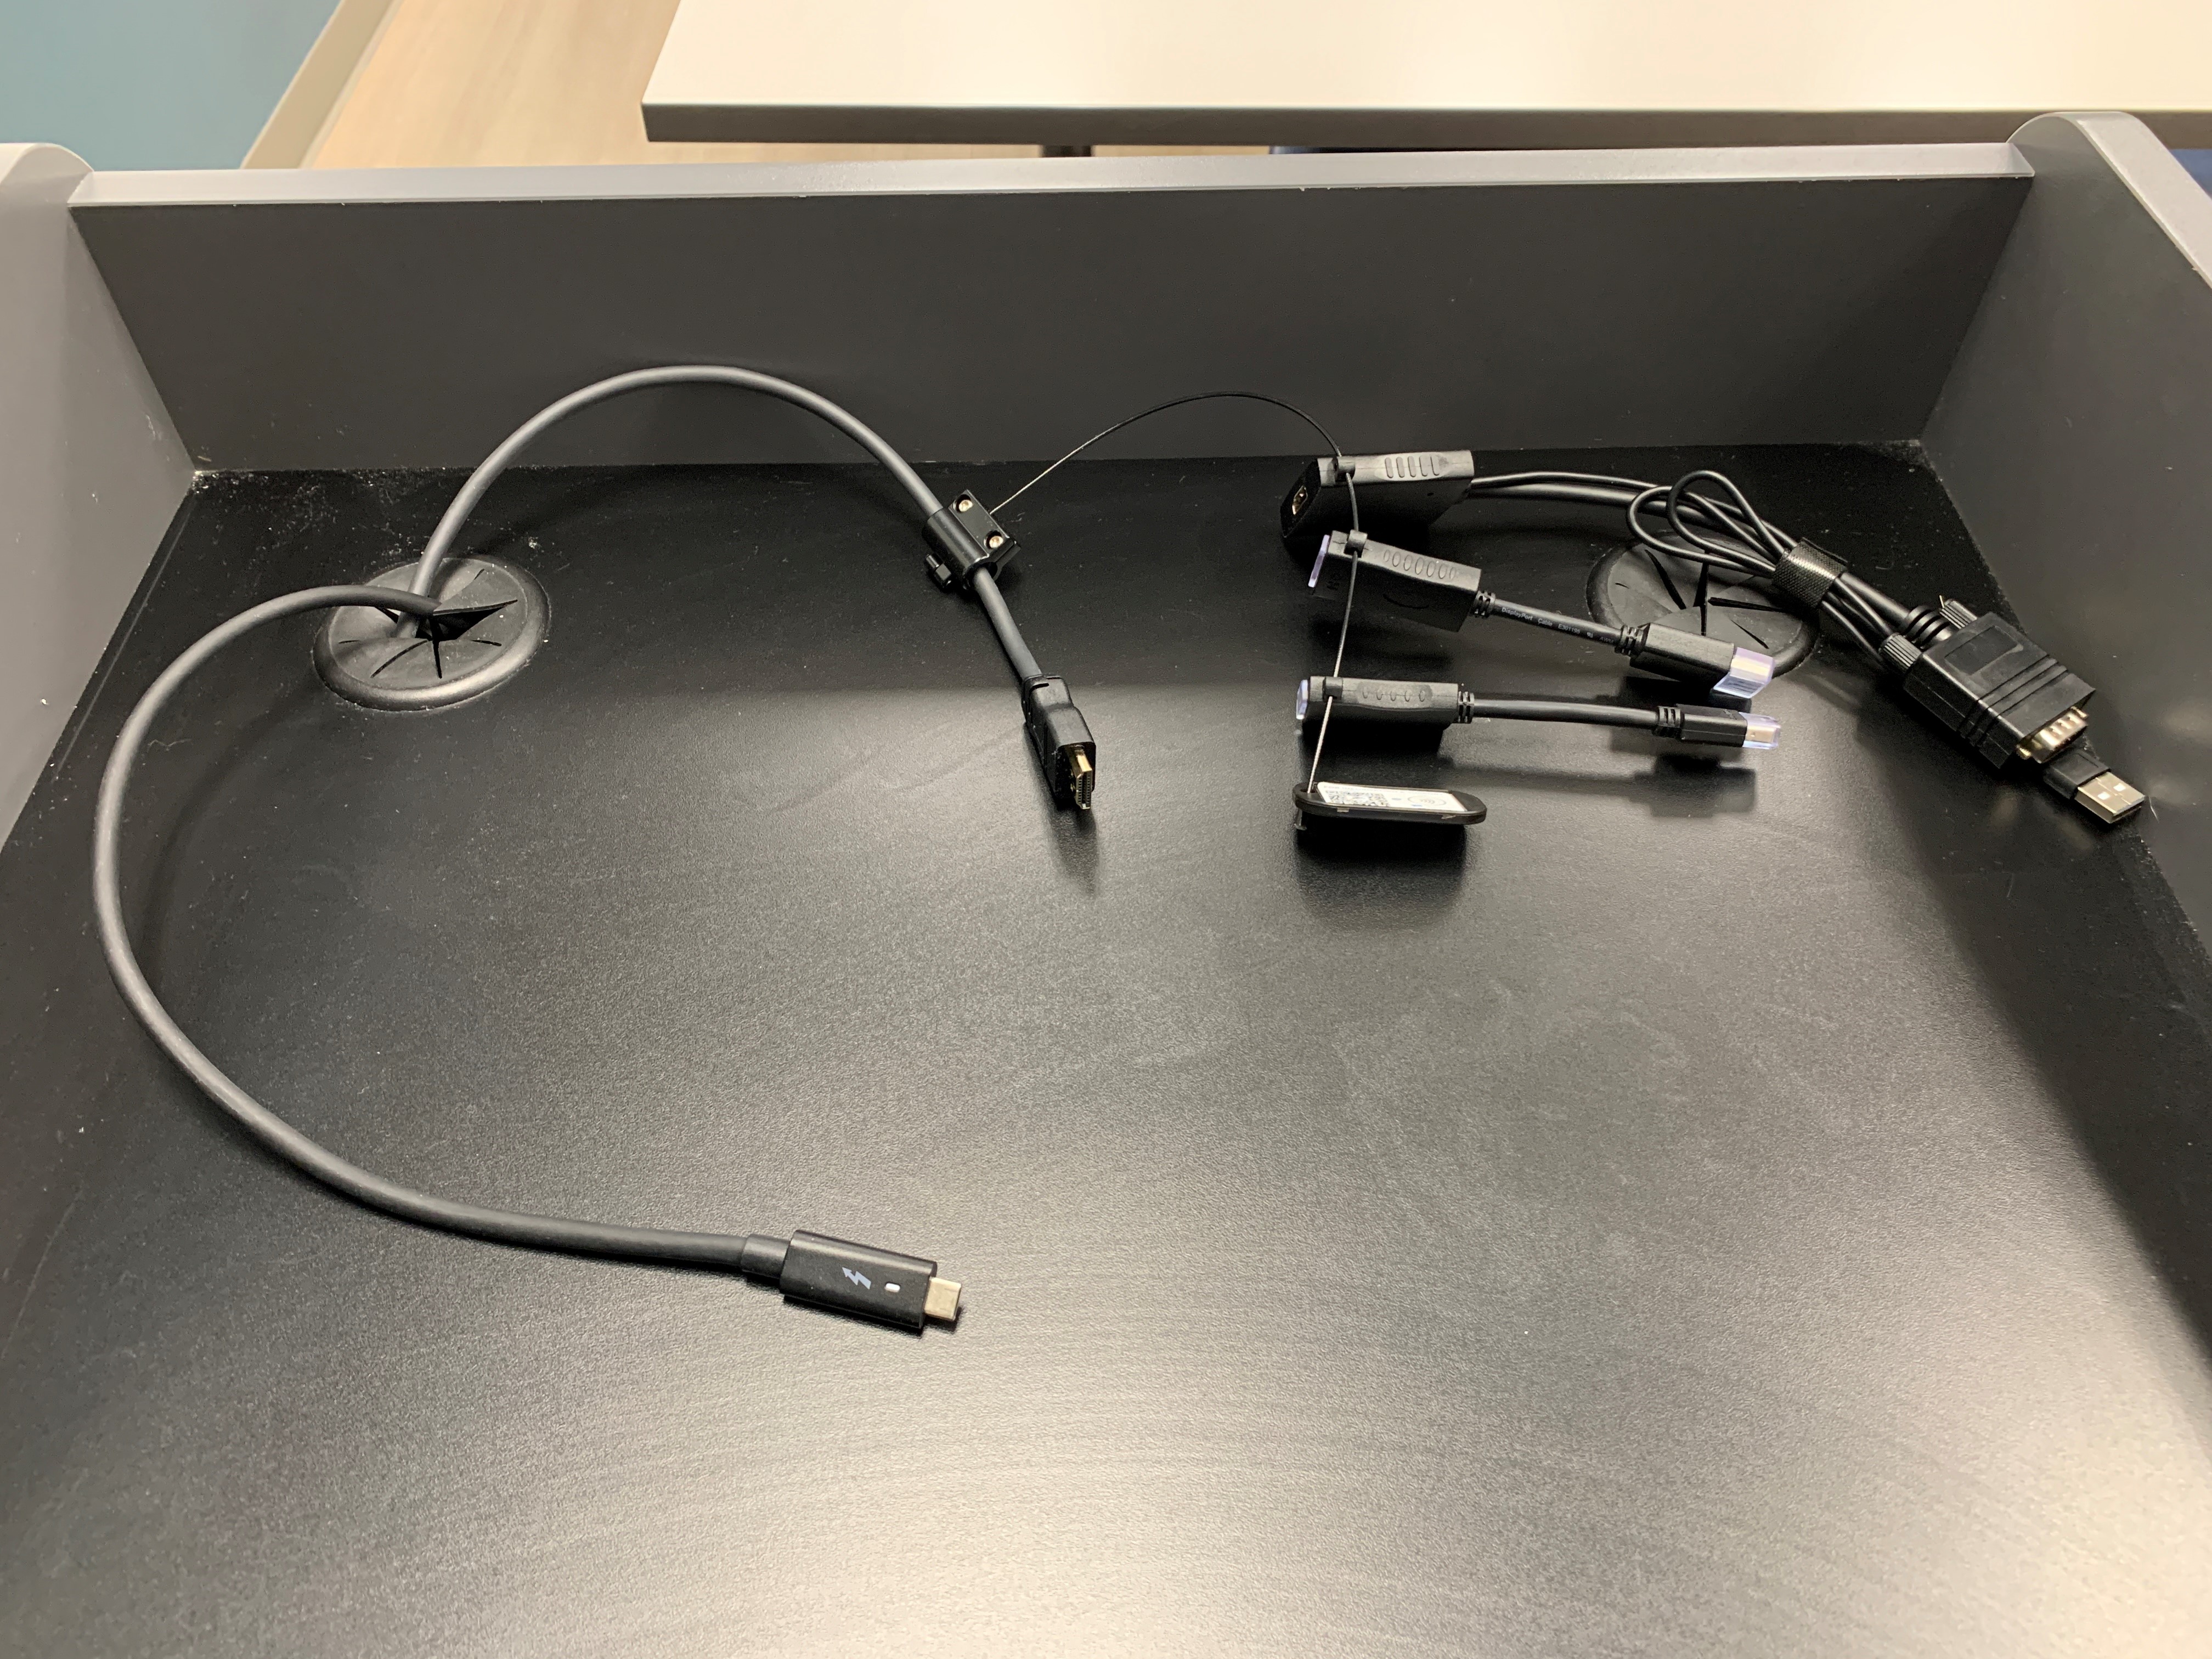
- Attached to the HDMI cable is a dongle of adapters that should permit nearly any laptop manufactured to connect to the smartboard. Any owner of a laptop not covered by the adapter dongle should already be aware that he/she has a laptop with a non-standard video output and should bring an appropriate adapter with them. No additional or spare adapters are available beyond what is already attached to the cable.
Settings in Windows
For general sound playback in Windows, the Extron ScalerD sound card needs to be selected. The menu can be accessed by clicking the speaker icon in the system tray by the clock, then clicking on the top line of the window.

Settings in Microsoft Teams
Microsoft Teams requires the speaker, microphone, and camera to be selected. Same as with Windows, the Extron ScalerD should be chosen as the speaker. For the microphone, the Line In (Core-1 Sound Card) must be chosen. Finally, the Quick-Connect USB camera needs to be selected for the camera. These options are available through the device settings pane in Microsoft Teams. For help on finding the device settings section in Teams, the knowledgebase article titled How to set up Microphone/Speakers in Teams walks you through it.

Microphone and Camera
A microphone and camera are mounted on the ceiling of the room. The view and pickup of both devices are configured to allow the presenter to be easily seen from the front of the room and allow the presenter to wander around within a few feet of the podium and smartboard.
Microphone
The microphone is configured to pick up just the presenter in the front of the room, though a student who speaks in a loud voice will be heard too. The audio will be sent to the rear speakers of the room to allow students in the rear to more clearly hear the presenter. It is also sent to the laptop for use in synchronous learning. Finally, it is sent to an infrared transmitted to allow the user of IR receivers for students who need hearing accommodations.
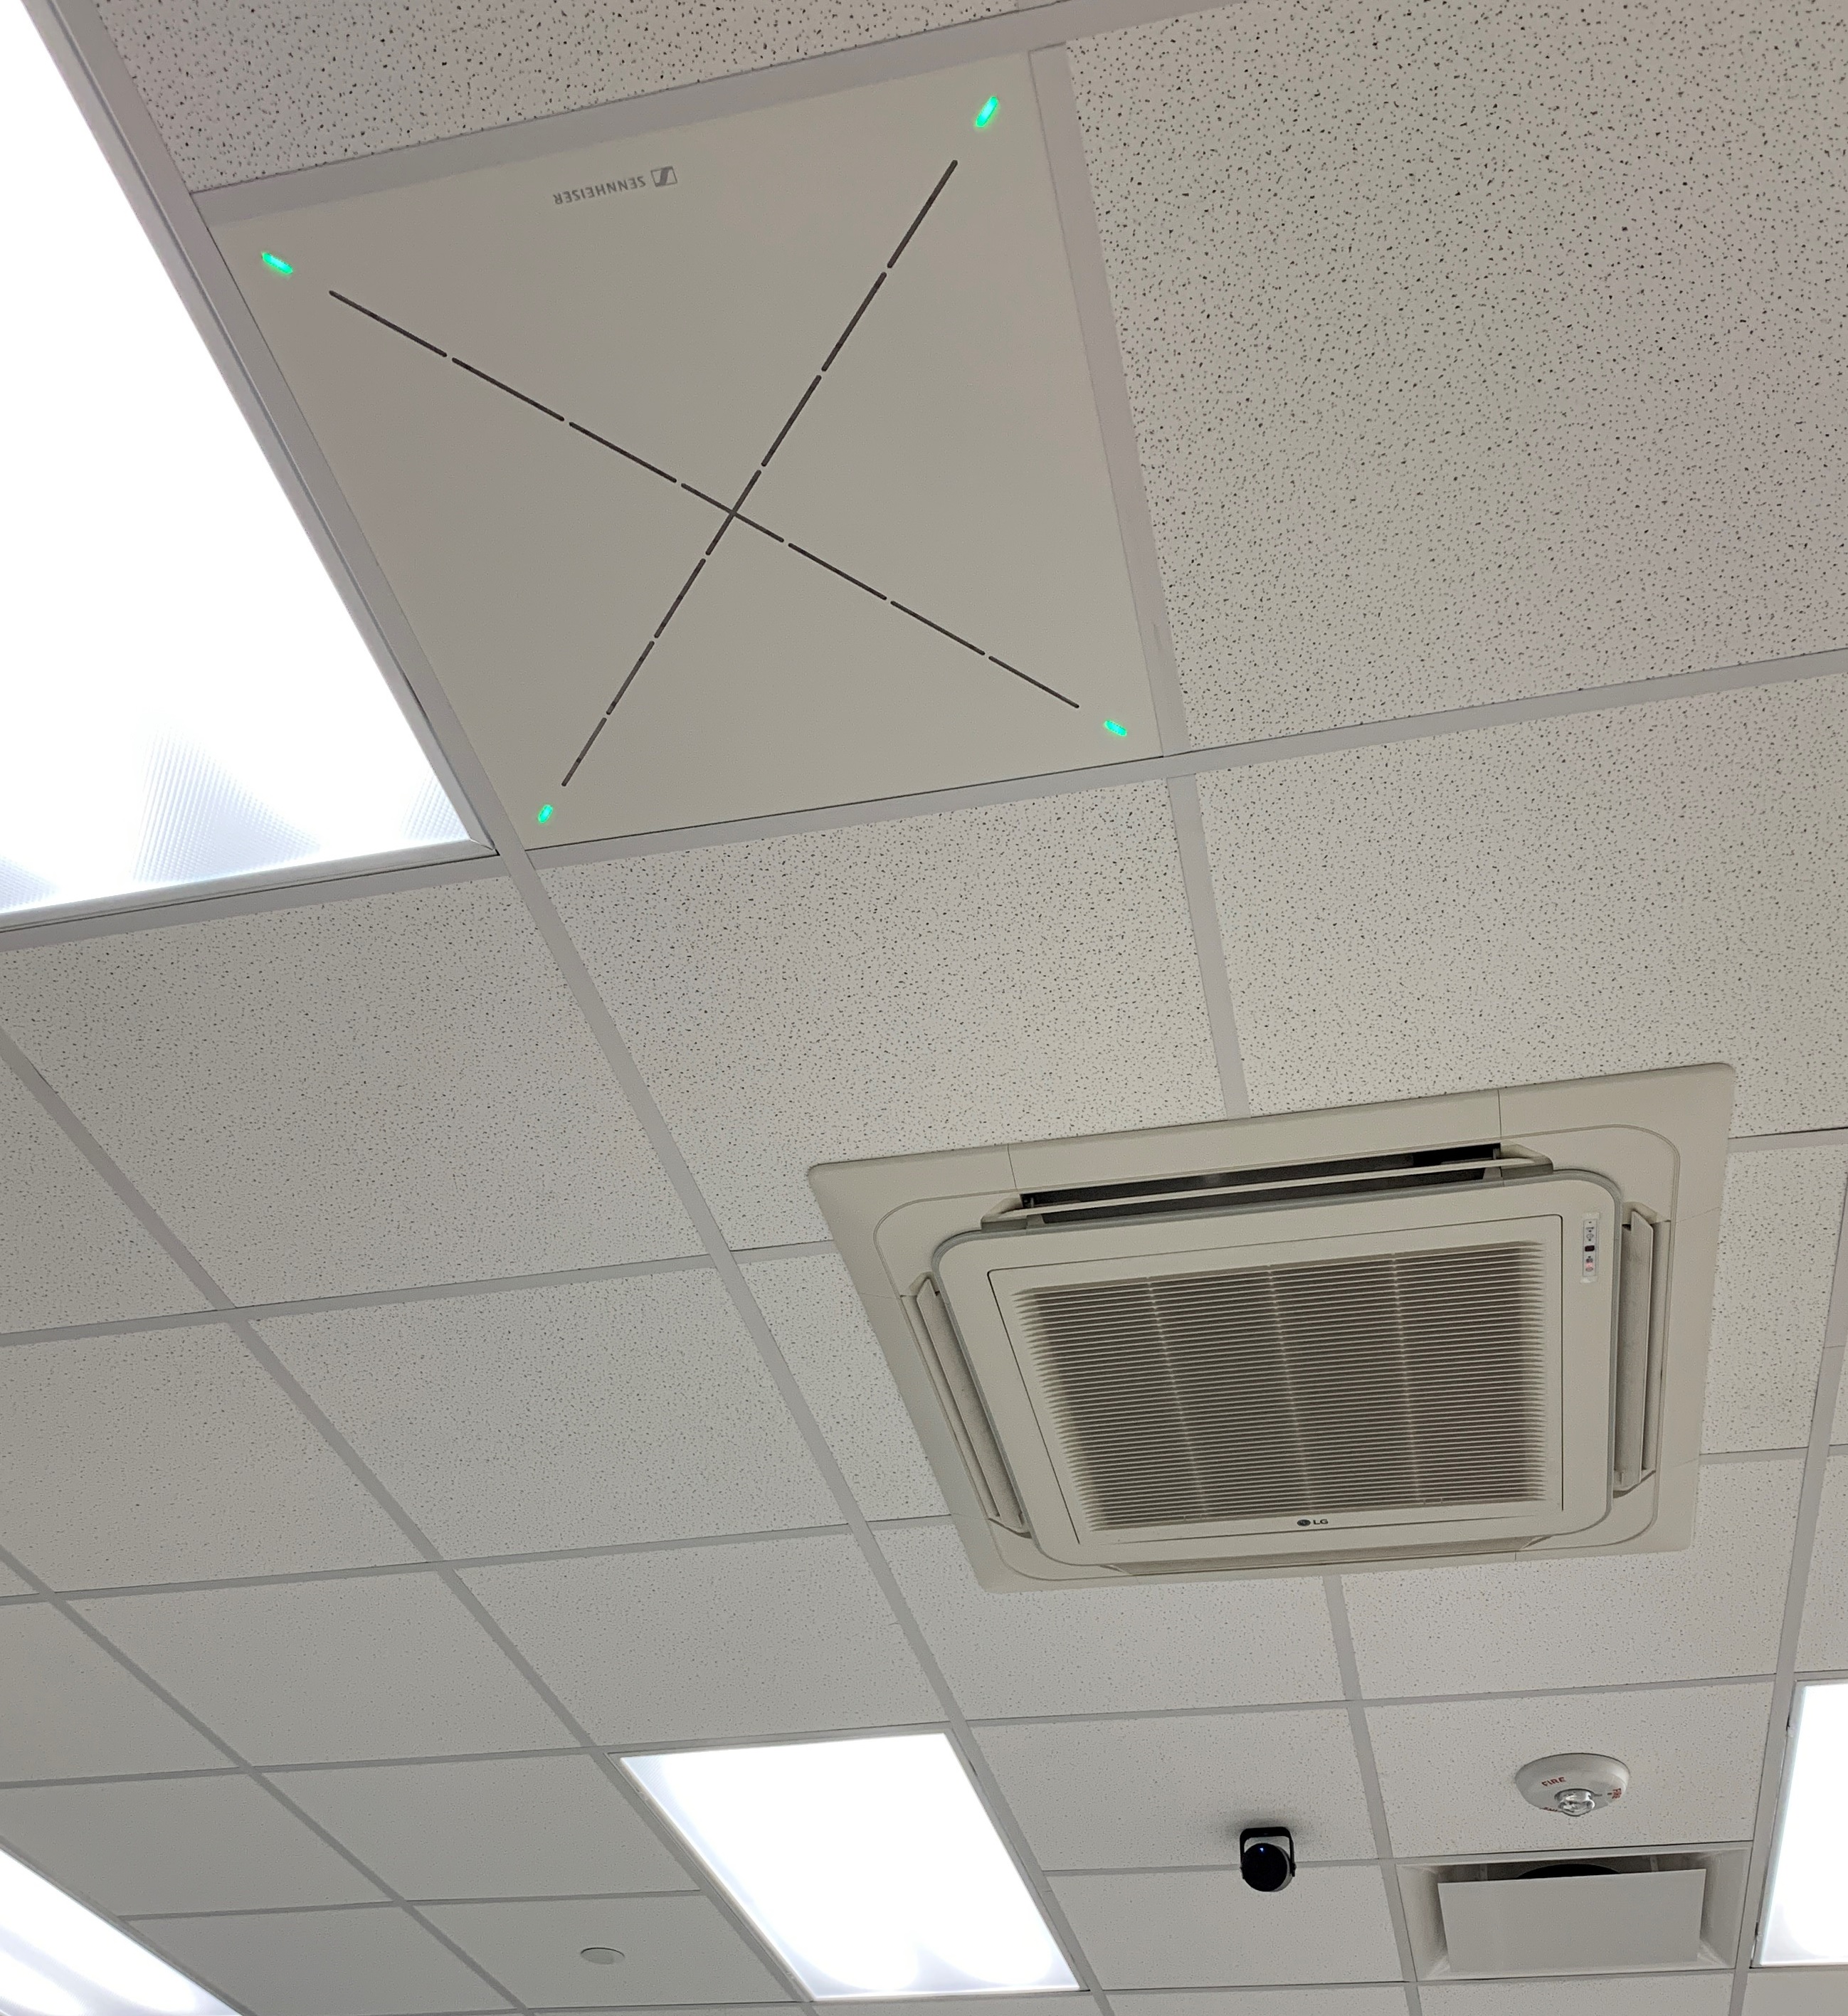
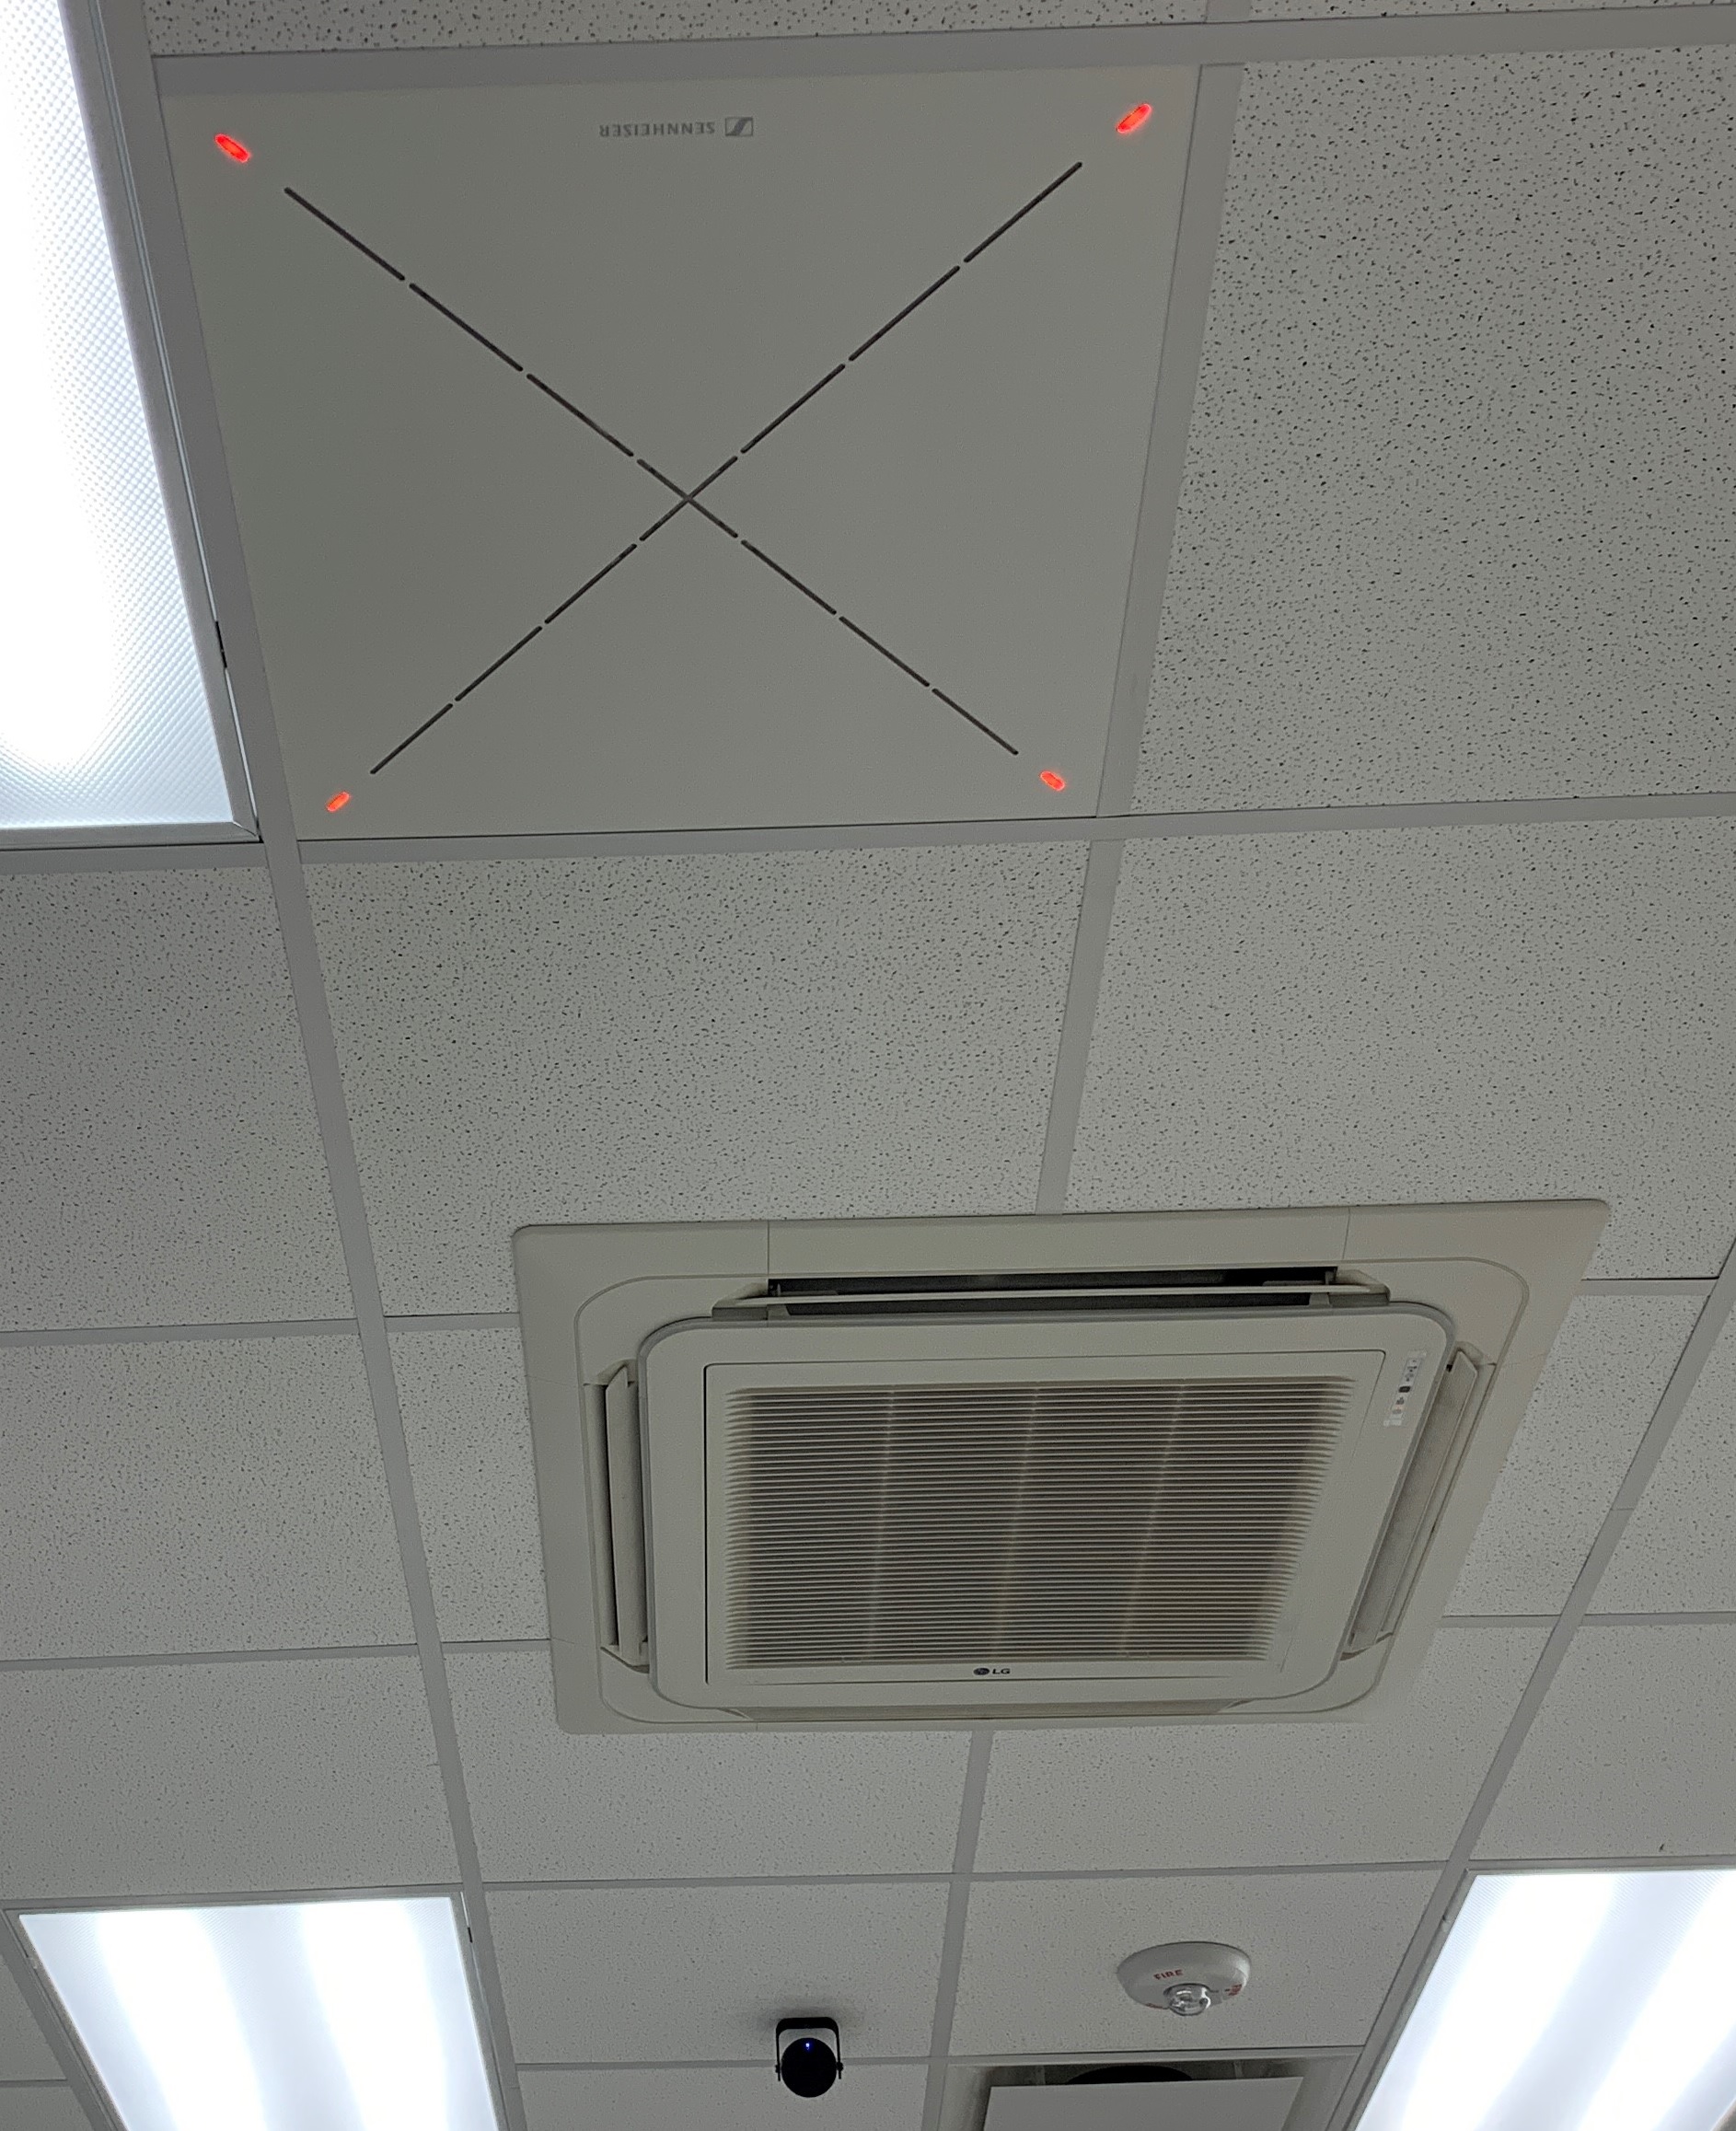
There is a mute button on the touchpanel in the lower right corner that will mute the microphone. Colored lights on the corners of the microphone indicate its status. Red means the microphone is muted, while green indicates it is on and operating.
The microphone is VERY sensitive. Even a whisper in the front of the room WILL be picked up and amplified. Make sure to mute the microphone or step out of the classroom if you have private matters to speak about.
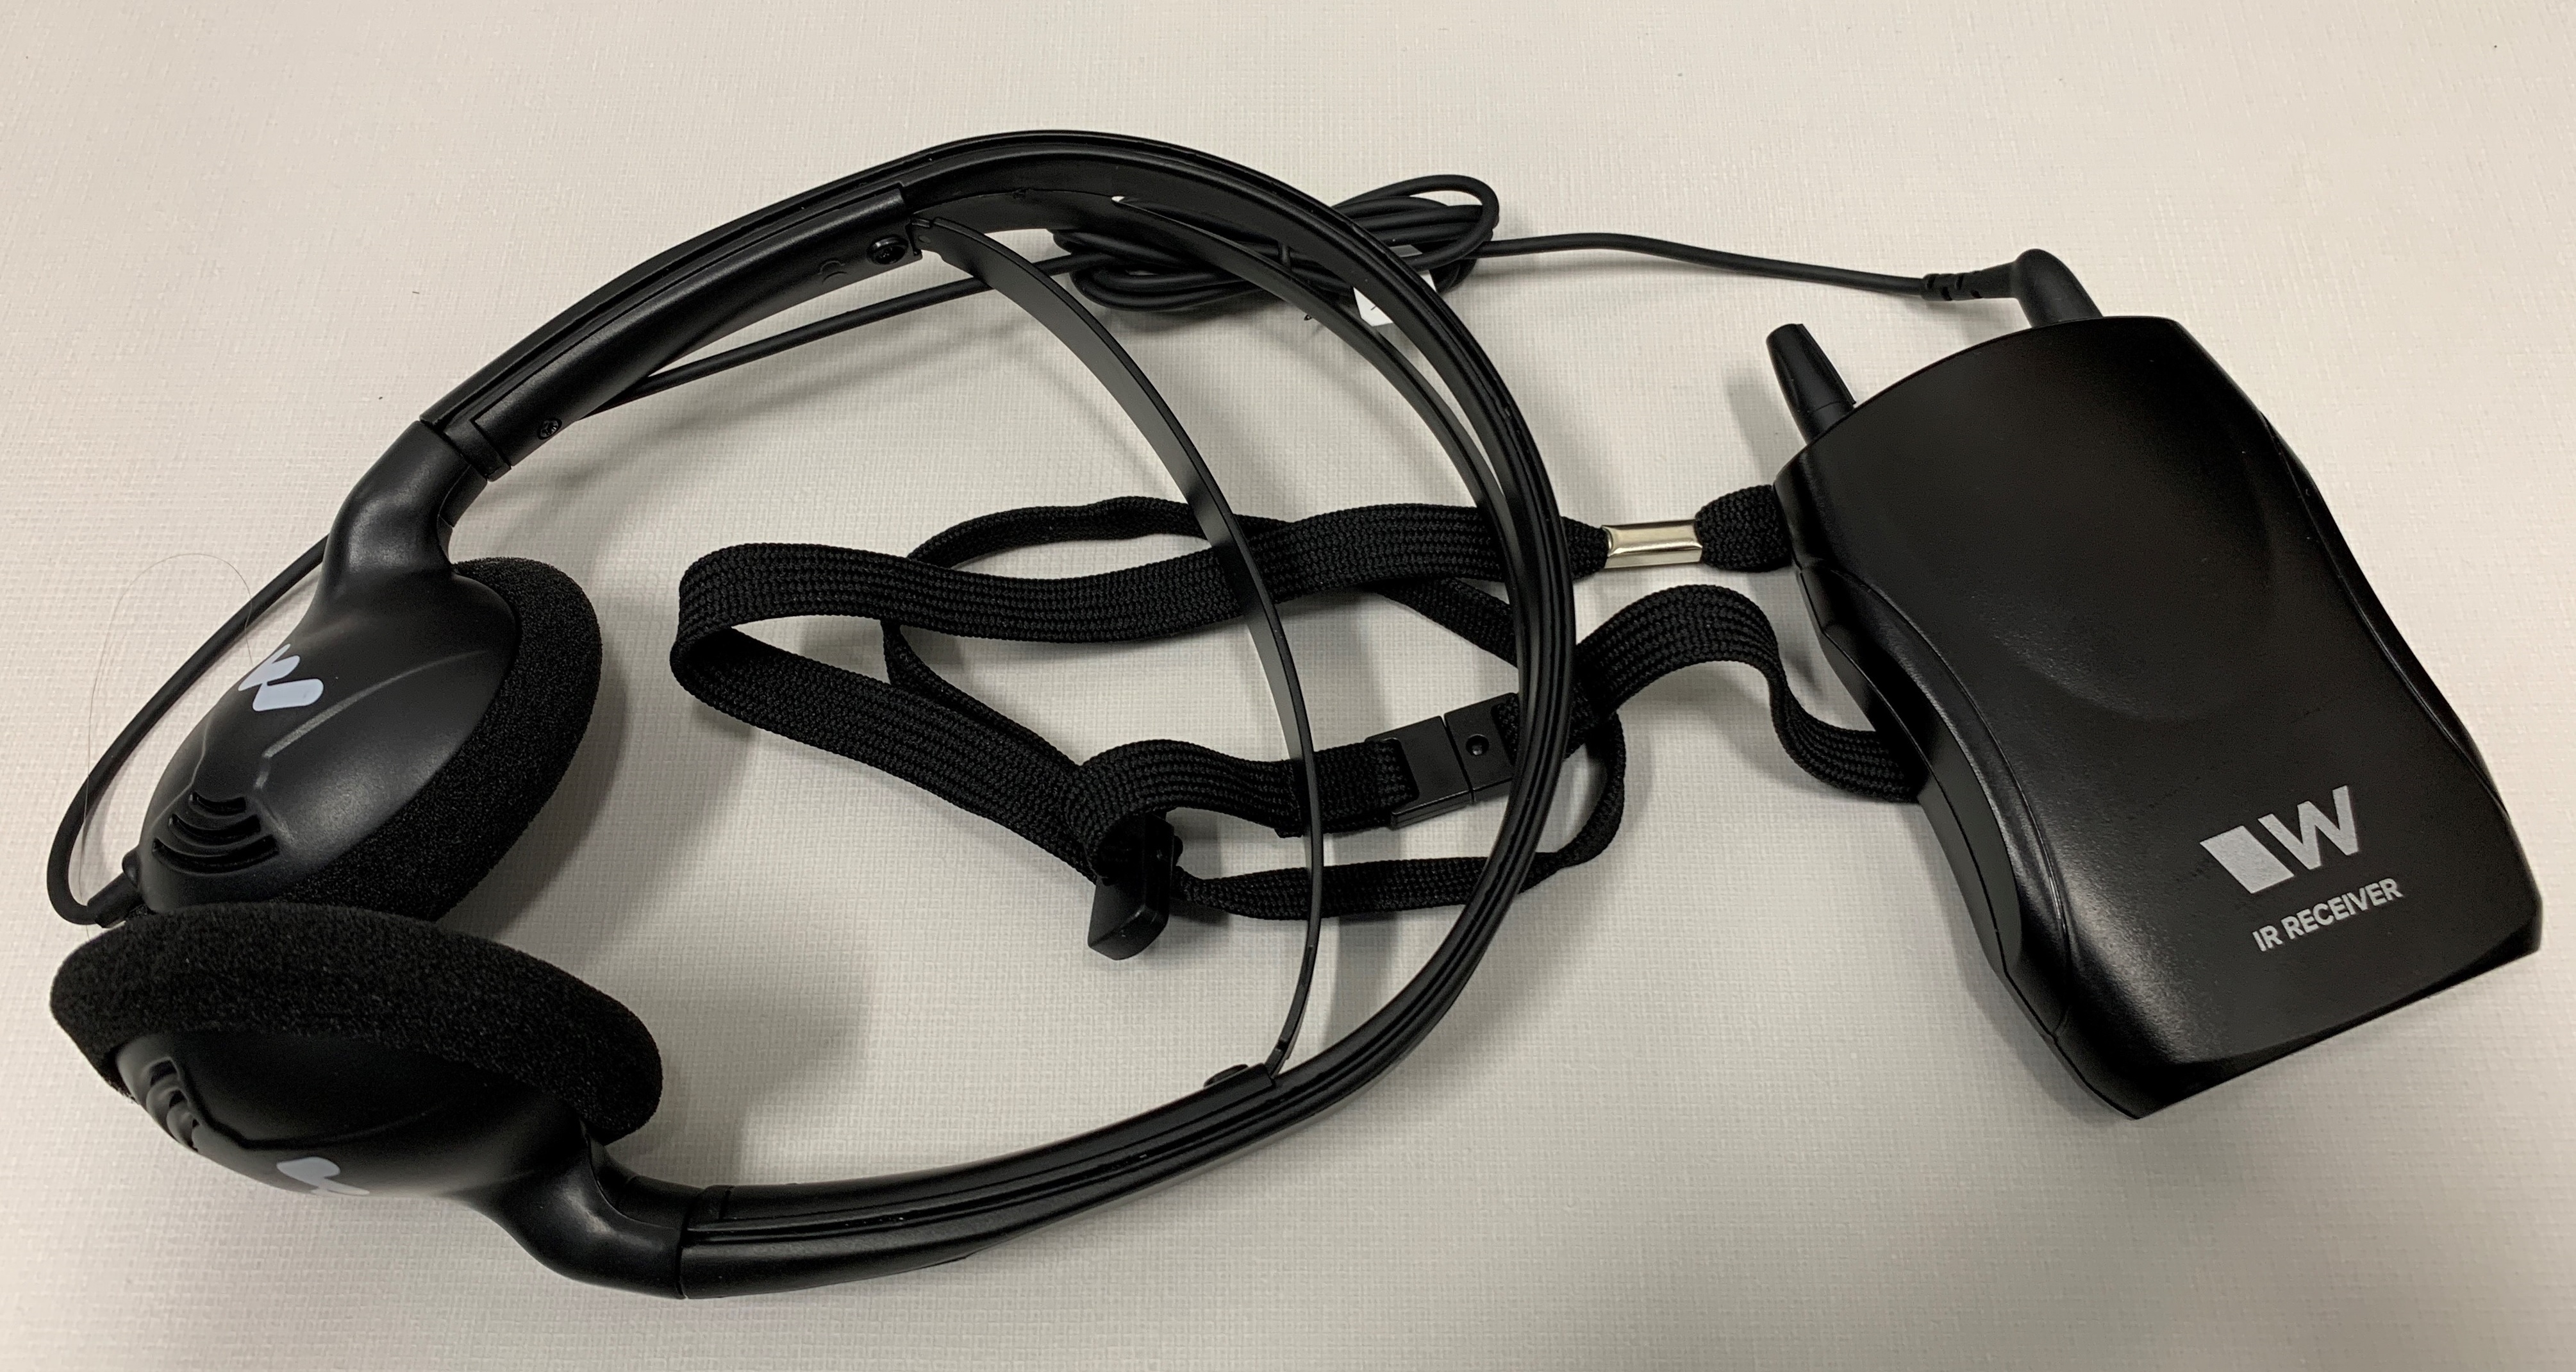
Hearing Accommodations
The upgraded classrooms have accommodations for hearing-impaired students and guests. With the use of a infrared (IR) receiver, audio from the presentation and microphone are amplified for the impaired person. The receiver works with a pair of normal headphones, or a neckloop that is compatible with persons with telecoil-enabled (T-coil) cochlear implants. The receiver can be checked out from Student Services through the standard accommodation process.
Hard reset on laptop.
If your laptop is frozen and won't turn off:
- Unplug laptop for any power source.
- Hold down the power button for 30 seconds. You must hold it down for a minimum of 30 seconds.
- The computer will turn off. You can turn the computer back on after this.
Logging into NTCC issued laptop.
You need to be on campus for the first time you log into an NTCC issued laptop.
Either connect to a docking station or the NTCC Owned-devices WiFi.
The easiest time to do this is right after you sign the paper work to receive your laptop.