# How to create a signature in Outlook
##### When you want to have a customized signature in your emails.
Click on images to enlarge.
## **Creating a signature in the desktop app.**
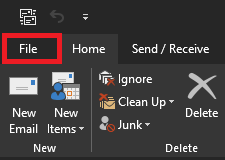
1.) After opening the Outlook desktop app, select the **File** tab.
[](https://docs.northshorecollege.edu/uploads/images/gallery/2022-10/mCur3QAN3xQVJ4b5-file.png)
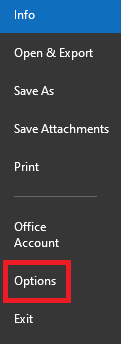
2.) Click on **Options.**
**[](https://docs.northshorecollege.edu/uploads/images/gallery/2022-10/LuJBvOz3KgMcJ6zn-options.png)**
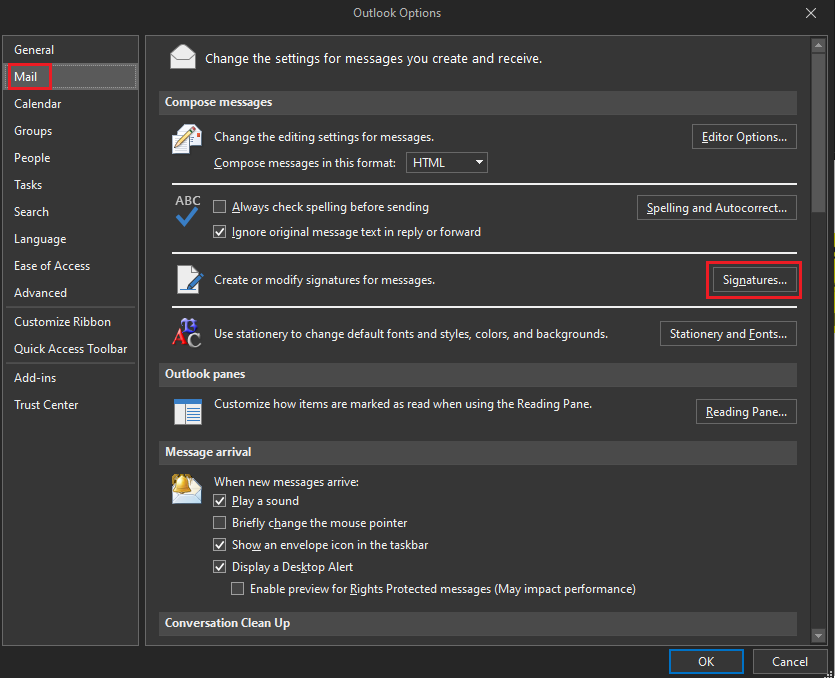
3\. Click on **Mail** then click on **Signatures.**
**[](https://docs.northshorecollege.edu/uploads/images/gallery/2022-10/cmHzH7u3CNedxi0D-signature.png)**
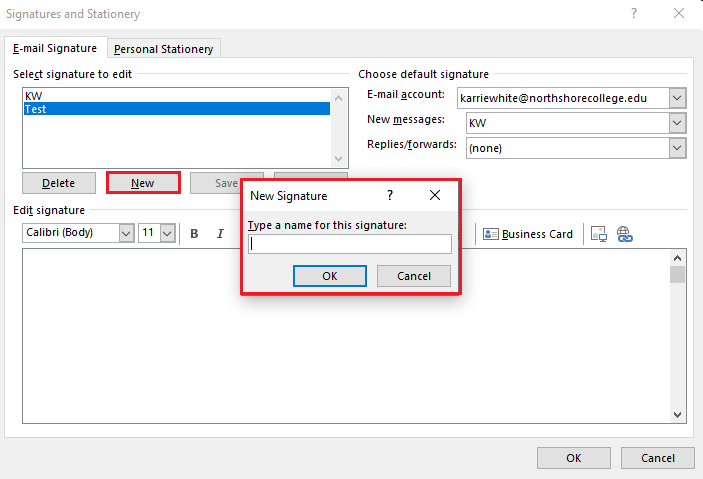
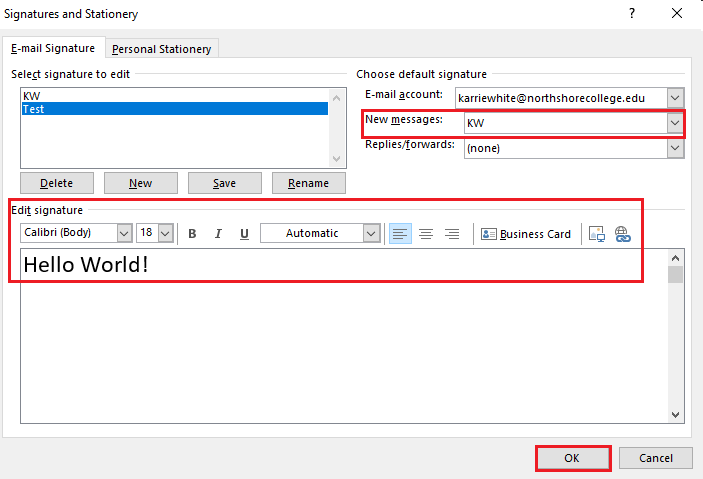
4\. Click **New** and type what your want the signature to be called then **OK**.
[](https://docs.northshorecollege.edu/uploads/images/gallery/2022-10/iwQ9v1vgZ5IcR6Rp-name.png)
5\. Write your message in the **Edit signature** box.
**Note**: Make sure you use the drop down box for **New messages:** to select the signature you want to use. You can also choose to have it for replies and forwards as well.
6\. Click **OK.**
**[](https://docs.northshorecollege.edu/uploads/images/gallery/2022-10/TAO6h6m6zQWzDzvW-save.png)**
### **Creating a signature in the web app.**
1.) Sign into Gatormail like normal. At the top right corner, select the **Settings** icon.
[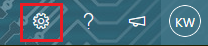](https://docs.northshorecollege.edu/uploads/images/gallery/2022-10/owUYlmTozfqMjYyL-settings.png)
2. At the bottom of the newly opened panel, click **View all Outlook settings.**
[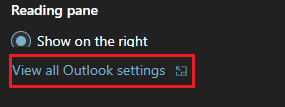](https://docs.northshorecollege.edu/uploads/images/gallery/2022-10/4Iwu9eRRAV2EyqDw-view-outlook.png)
3. Select **Mail** then select **Compose and reply**.
[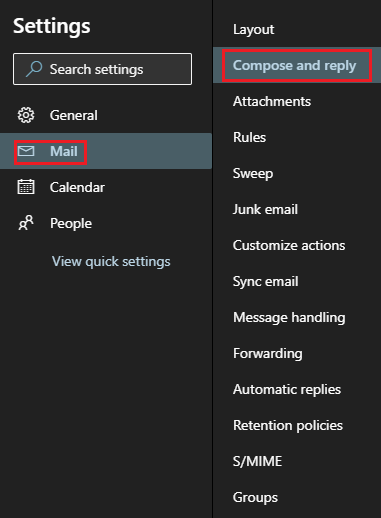](https://docs.northshorecollege.edu/uploads/images/gallery/2022-10/HlYdWq5HxZOH24Lt-mail.png)
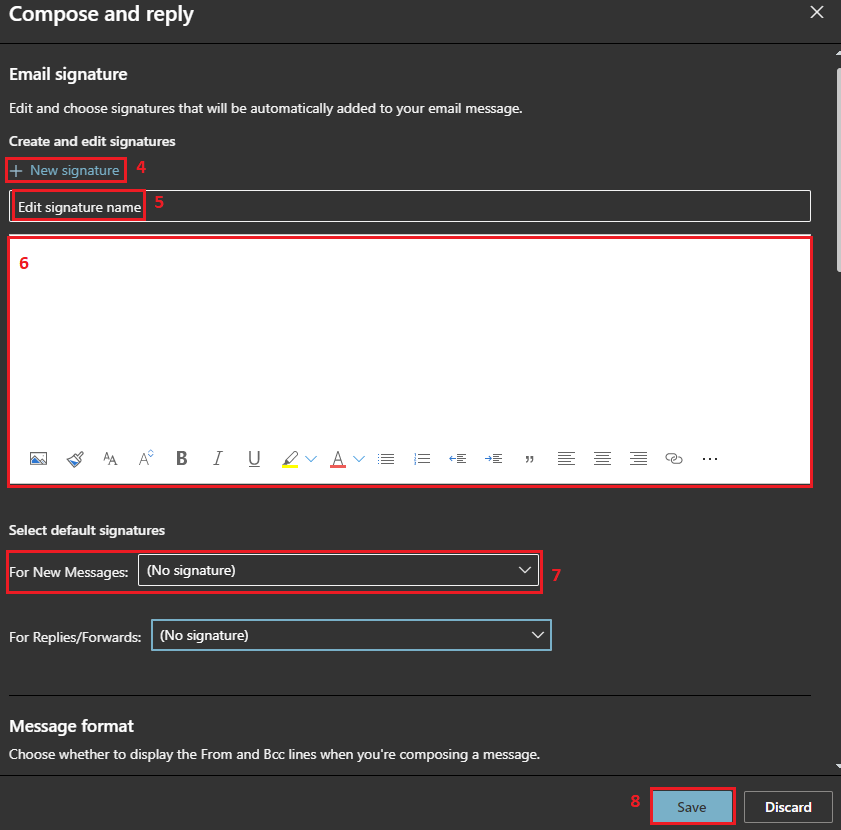
4\. Click **+ New signature**.
5\. In **Edit signature name** create a name to identify your signature.
6\. Create your message for the signature.
7\. Make sure you use the drop down box for **New messages:** to select the signature you want to use. You can also choose to have it for replies and forwards as well.
8\. Click **Save**.
[](https://docs.northshorecollege.edu/uploads/images/gallery/2022-10/OJ9LiWSMDpG8BL2i-options.png)